DIY: Change the drive shafts (Peugeot 306 1.9L D – XUD engine)
 This tutorial will explain how to change the drive axle on a Peugeot 306 1.9L D of 1994. This intervention is relatively the same on many other vehicles. The drive axle will not wear quickly but steadily. Past 100000km, it is normal to have to change them. On the other hand, if one of their bellows is damaged while it is almost new, it will lose its fat and the drive axle will wear out so quickly. After a short time, should then change the half axle.
How to test drive axles ?
On a flat parking lot, make circles with the car turning at maximum. Drive slowly, it is unnecessary to go fast. If you hear a regular "gloc-gloc" while turning, it usually comes from the shafts that are worn or have no more grease to absorb the shocks.
Parts needed
- Drive shafts (if you change)
 Gearbox oil.
- Filling syringe of oil if you have not found a tank with hose into the CAP.
-
Seals spy boxes near the differential output. In other words, the spy joints for drive shafts.


Special tools required
- Hunt Ball
- Small flat chisel
- Tire changer
Drain the gearbox
 Before removing the drive shafts, drain gearbox oil. To do this, place a pan under the bleed screw in order to recover the oil. This screw is located at the bottom on the back of the gearbox. Remove this to purge and think to recover this screw joint.
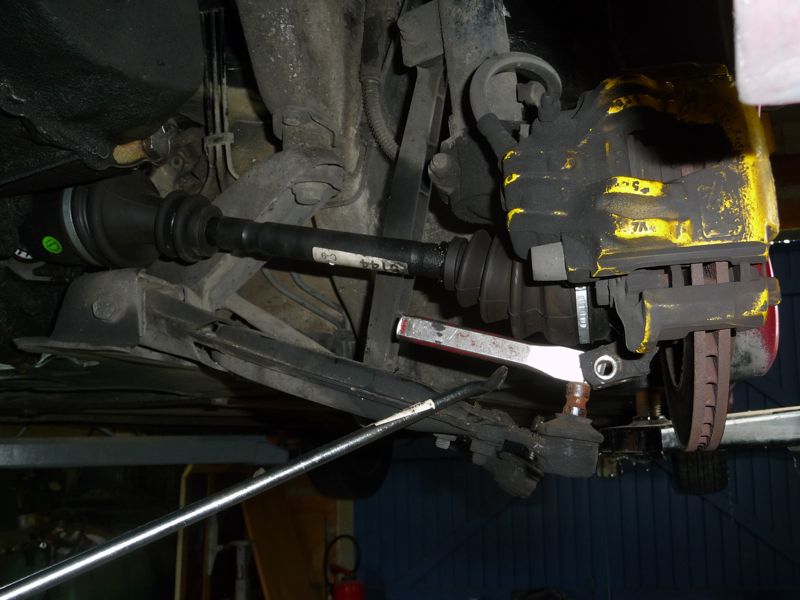
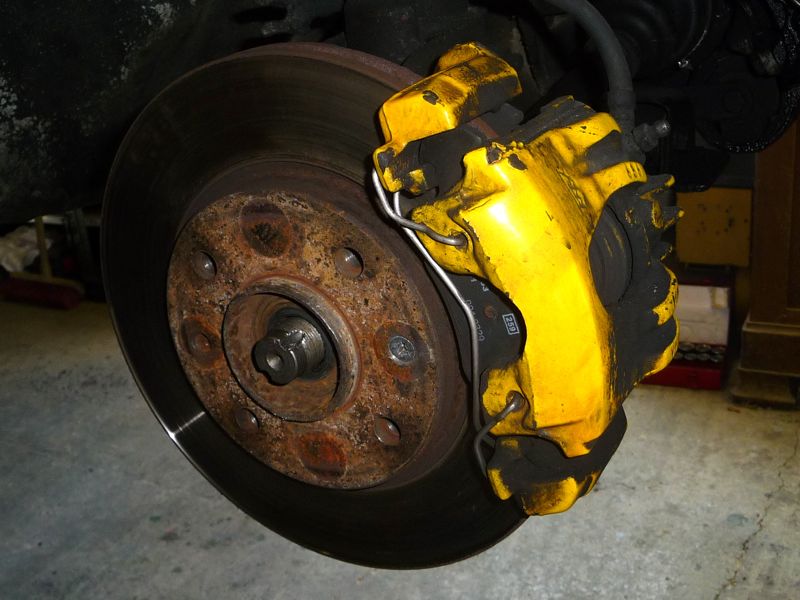
Removal of the drive shafts
- remove the front wheel from the side concerned
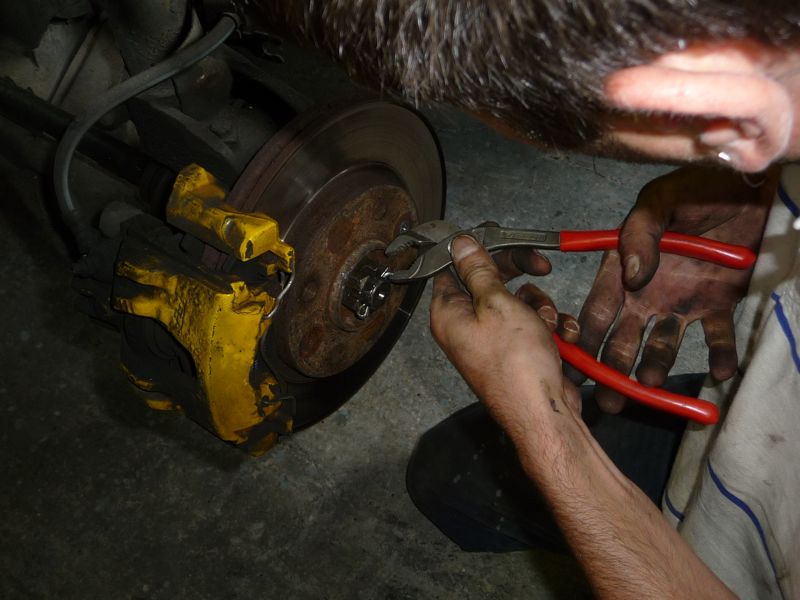
- remove the central wheel nut.
- On the 306 it had a 36mm diameter. Plan a socket of this size.
- This nut still has a locking mechanism to prevent it is unscrewed. It can be a PIN or an offset to mark whith a chisel.
- The blocking type depends on the drive shaft axis because its form differs in 2 cases. You may be able to meet the two types of blocking on the same car. Look at the end of article for more information on this subject.
- Verify that the drive shaft can slide a bit in the hub because over time it can seize up. If it is locked, punch a bit on the drive shaft head to unlock.
 remove the nut from the direction ball.
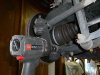 remove the screw from the foot of hub.
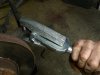 remove the direction ball with a hunt ball. Be careful not to damage the ball plastic bellows.
-


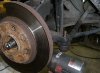
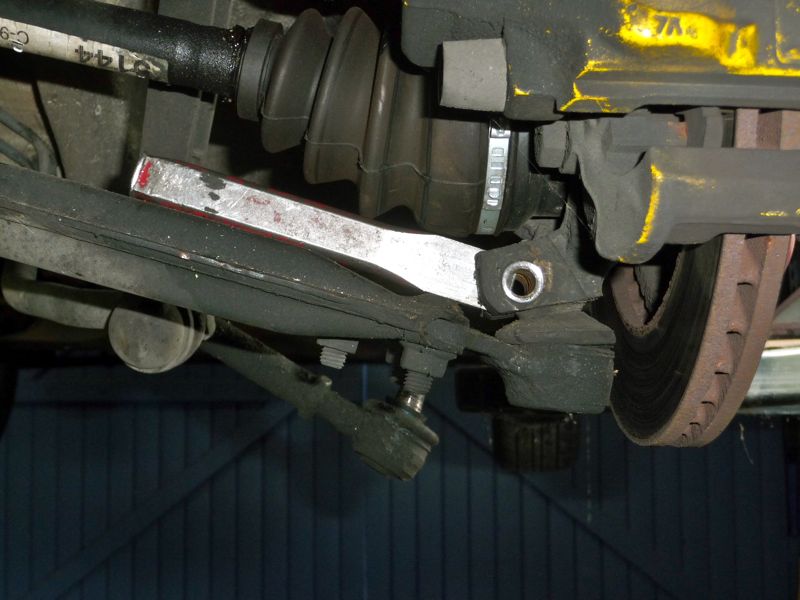
remove the lower ball of the hub
- position the hub as if the wheels were straight. This facilitates the release of the ball.
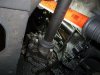
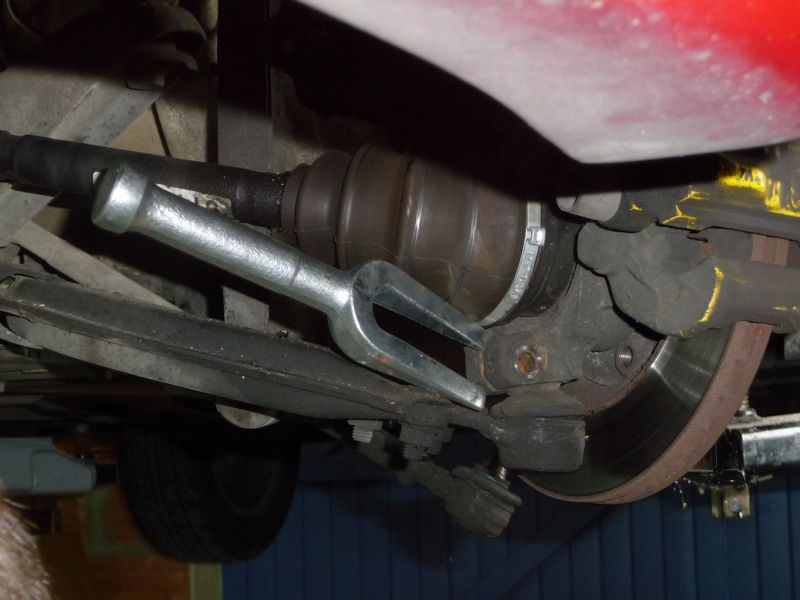
- Carefully punch a small chisel with a hammer into the slot on the hub at the level of the inferior patella
- with a crowbar, made lever between the triangle and the foot of the hub to get out the ball (do not lever on the chisel as pictured).
- Here too, be careful do not force on the bellows of the patella, which could damage it.
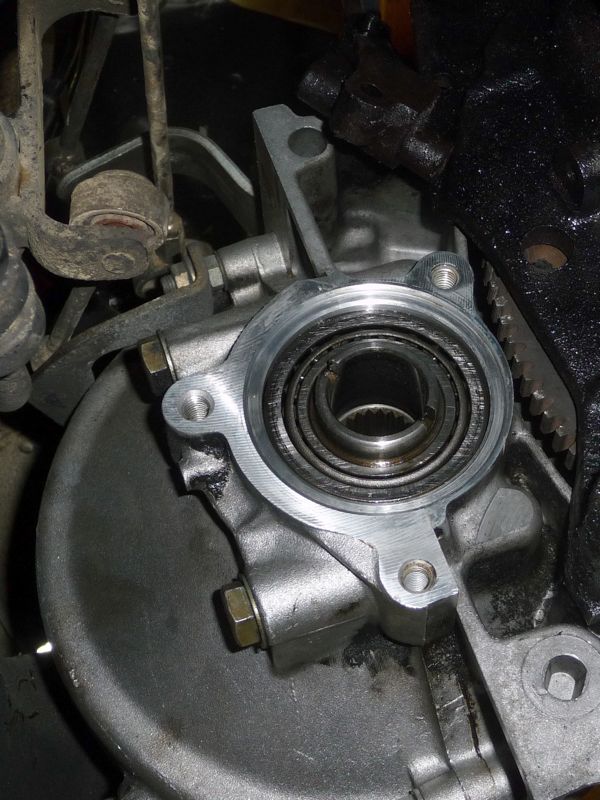
 turn the hub backwards and remove the drive shaft from the hub.
 then exit the drive shaft out of the differential. If you have not emptied the gearbox, at this time, it will empty all alone…on the floor.


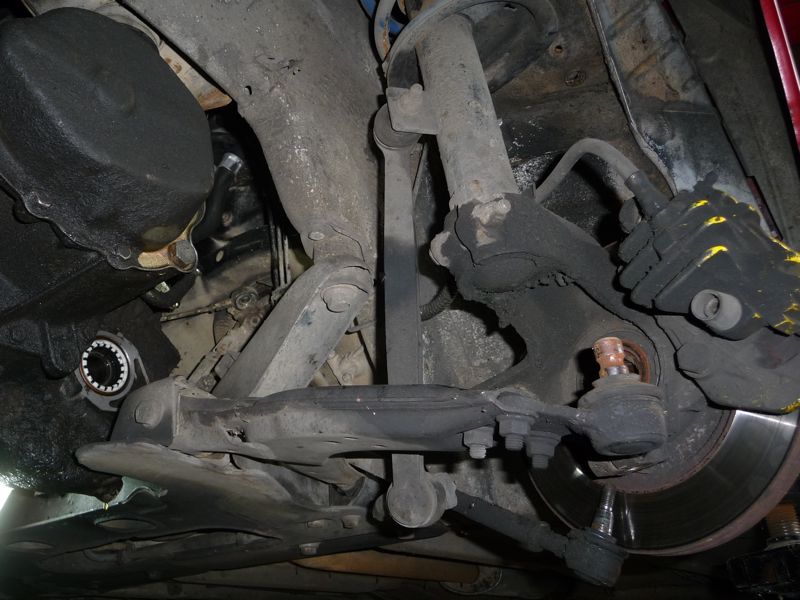
Offset through the right half shaft with half-moons


The differential on which drive shafts are connected is not located in the middle of the car. Because of this the right drive shaft is much longer than the left. To distribute its weight, it is maintained by one intermediary support with 2 blocking screws in halfpipe.
It comes with 2 screws that pass through remedy it and should be loosen to exit the drive shaft. At the other end of these screws are smaller outlying cleats that go beyond or not inside the remedy depending on how the screws are turned. This allows to block the cardan shaft when the half-moons are inward and leave it out when they are facing outward.
To exit the drive shaft of remedy do the following:
- remove the 2 nuts 2 screws of remedy
- turn the screw a half turn
- After the hub shaft, pull the drive shaft out of remedy.
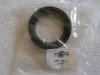
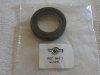
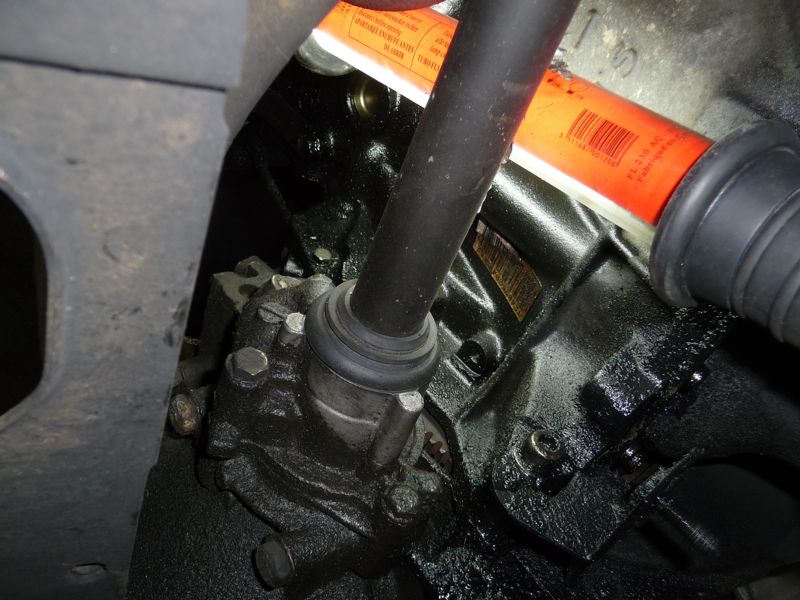
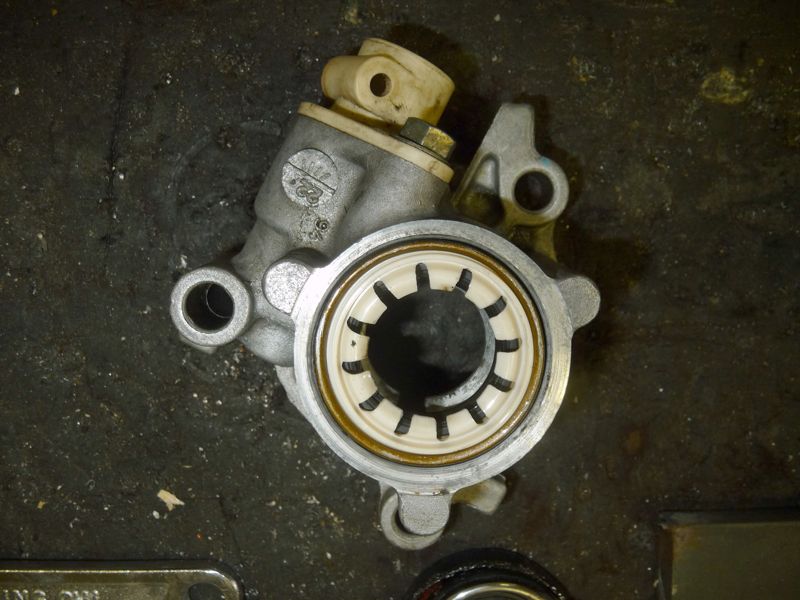
Changing the differential spy seals
The oil contained in the gearbox cannot exit because it is impounded by spy joints. There is a joint spy on the differential for each drive shaft. Better to change these joints at the same time as the drive shafts. For information, these 2 spy seals do not have the same size.
The oil seal on the left side is easily accessible. Remove it with a screwdriver and replace the new.
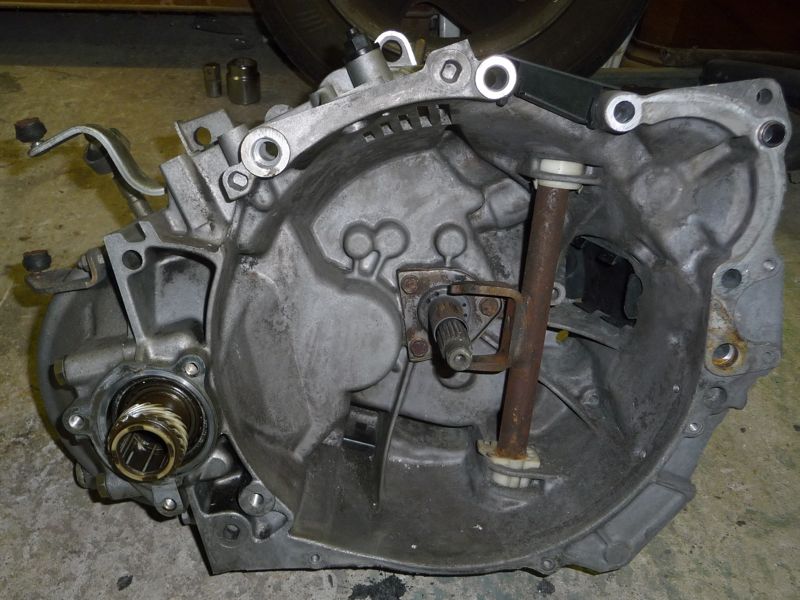

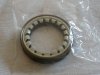
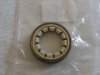
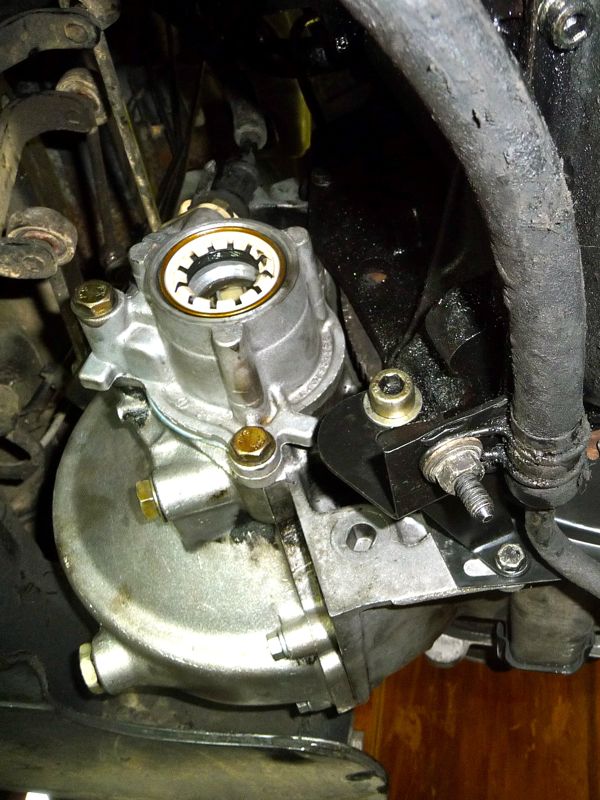
The oil seal right side is less accessible as it is located in the middle of the vehicle. However, the side of the box on which it is located can be disassembled. This part of the differential is the speedometer pinion. The photos below shows you a gearbox filed. You can see that the tachometer is located on the back of the box near the differential. It contains a fluted ring shaft-driven. The splines will cause the meter probe, which is connected to the top of the tachometer. This probe is maintained by a small wedge plastic passing across the meter cable, on its side. Thereafter I would sometimes call the tachometer "Tacho".
The tachometer oil seal change


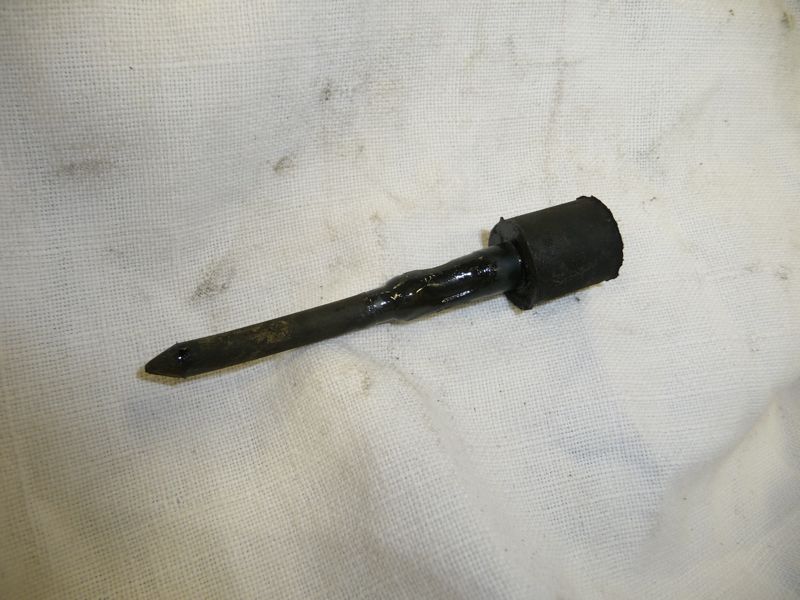
 Remove the plastic pin that keeps the meter cable
- Disconnect the cable from the tachometer by pulling it upwards
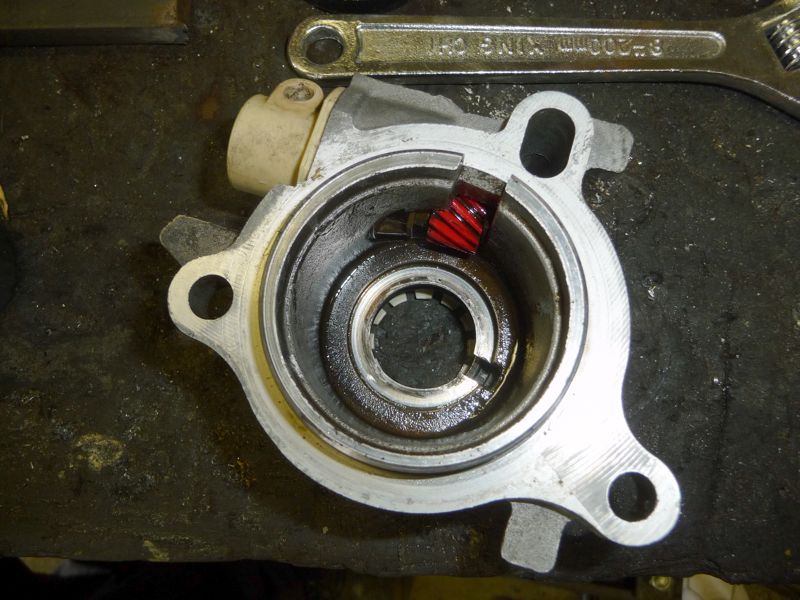
 Remove tacho housing by removing its 3 screws.
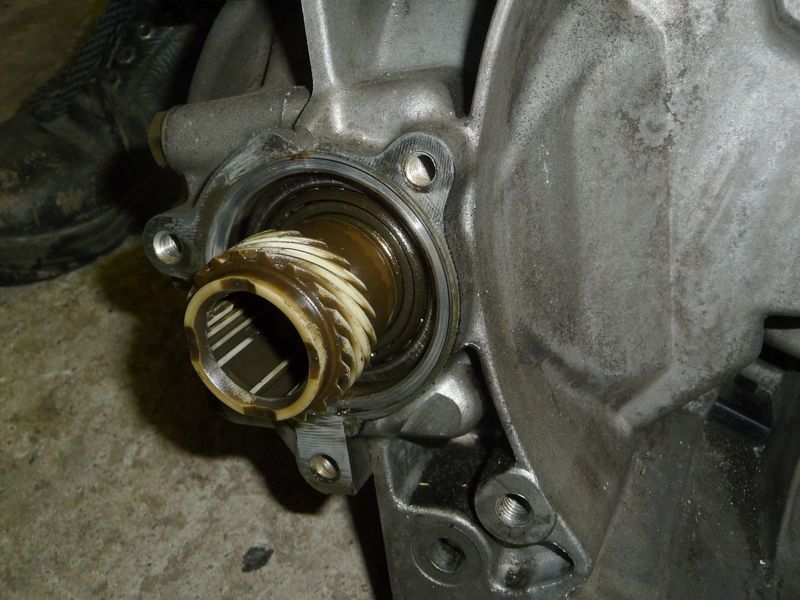
 Remove the internal spline ring of the tachometer. Caution, it's fragile.
 On the bench, clean removed parts and change the tachometer spy seal.
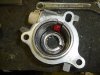
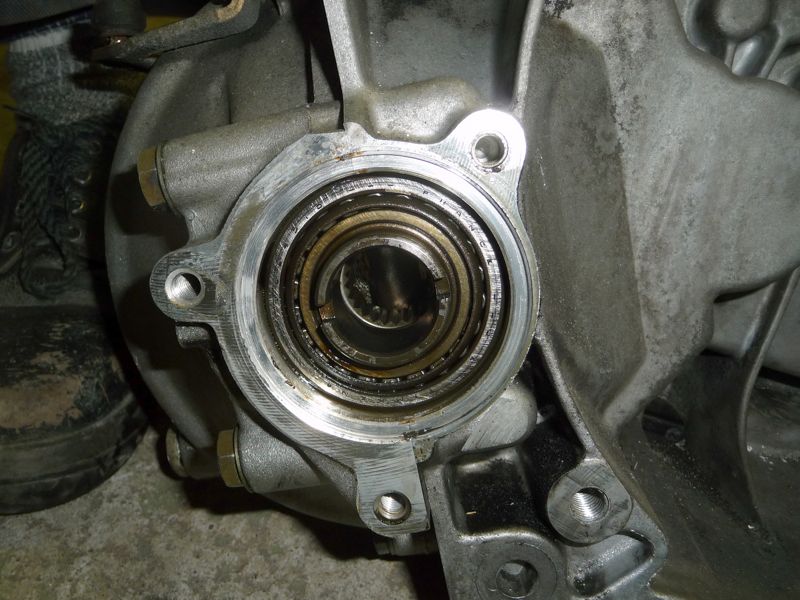
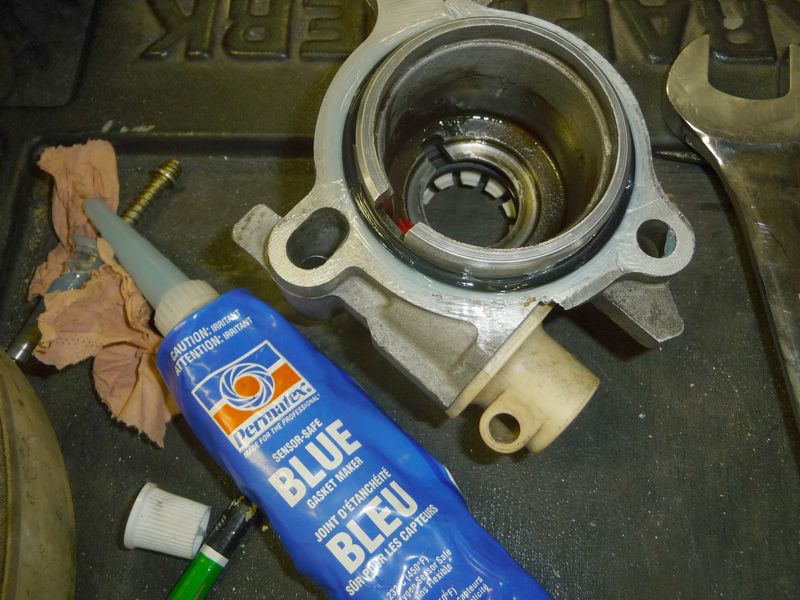
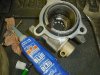 Remove the rear seal of the tachometer and, if it is too damaged, replace it. Otherwise, clean the gasket and its support. Reinstall it, then finish the joint with joint compound.
- Then replace the fluted ring of the tachometer on the differential.
- Replace the housing of the tachometer. Do not force, the alignment must be correct in order to remount the tachometer.
- Retighten tachometer screws.
- Connect the cable of meter on the top side of the tachometer.
- Replace the plastic pin. Position its head on the left side of the vehicle. So you can pull the thin end of the pin being in the middle of the vehicle, facing the tachometer.


Remount drive shafts.
During reassembly, make sure especially to avoid damaging new haf shaft bellows. It's easy to break through with one of the tools (chisel, tire changer) or even parts of the engine compartment. I am thinking the kneecap of triangle from the foot of shock absorber (lower hub kneecap) which will quite naturally crash in the bellows of half shaft.
To remount half shafts, simply proceed in reverse order for each side:
- Insert the drive shaft in its differential output. For the right drive shaft, need to go through its intermediate suport with half-moons.
- Tuck the half shaft into the hub
- Replace the lower ball of hub
- Replace the direction ball
- Tighten the central nut (36mm diameter, you can tighten)
- Lock the central wheel with the pin or chisel mark according to this device (see following paragraph).
- For the right drive shaft, make a half turn to the half-moon screw and replace the nuts from these screws.
 Fill the gearbox of oil. Use the screw located on the ass of the gear box, visible by wheel front left. You can not fill as the engine by pouring with a can because this screw is on a vertical wall. Should normally use a syringe, which is moderately useful. To avoid this, buy a tank with a hose into the CAP. Some cans Norauto including fitted. If you find any others, do pass the info. The filler screw serves as a level. When oil exit by the screw, retighten the screw. Do not wait until nothing flows anymore. Note that should be therefore fill the box well flat, otherwise the level will not be good.
- Replace the wheel
Lock the central wheel nut by pin

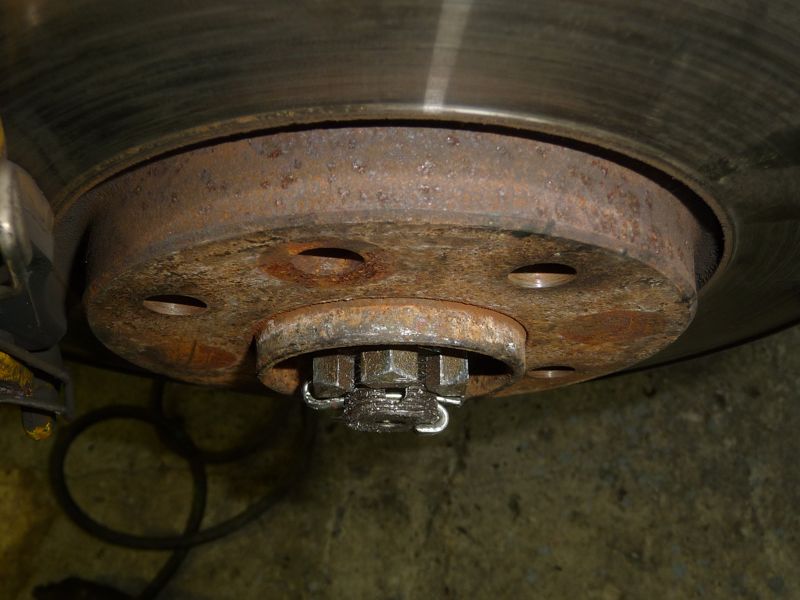
In this case, the central nut is perforated and the drive shaft axis is drilled. These holes allow you to pass a locking pin. One leg of the pin is also folded on the head of the shaft to keep it out.
To place, straighten the pliers then pull it out with a flat screwdriver and a small hammer.
When blocking the pin, need to align one of the notches of the nut with one of the axis holes to passe the pin.
Lock central wheel by marked nut
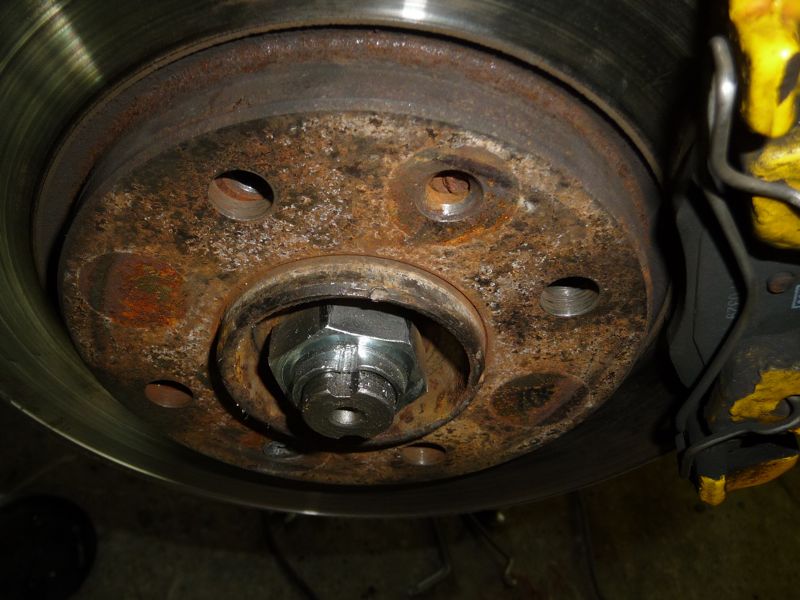
In this case, the nut is extended by a small ring. The drive shaft axis has a notch that allows to mark the ring nut to the chisel.
To remove the blockage, enter a flat screwdriver in the notch of the shaft to straighten the ring nut.
A the blocking of the nut, do not punch too hard by marking the ring, under penalty of cuting it.
Conclusion
The change of the drive shafts is an intervention of average difficulty. It has the advantage of not impacting other systems (no change in the camber, no breaks removal…). Be sure to not damage the plastic bellows of different bearings. The real problem in the case of the 306 is to have a 36mm socket. Generally, either you buy one alone, either you find it in a truck socket set. For safety, remove the wheel and check the diameter necessary before buying one.